
Our (Resin) 3D Printing Process

A clean resin reservoir is one of the most important things for a successful print, not only for the quality of the miniatures but also for the resin 3D printer itself.
If any small bits of hardened resin remain, this can damage the 3D printer.
Because of the way the 3D printer works, we may even need to replace parts. That's why we check the quality of our resin between each print.
When we print miniatures, we ensure the resin temperature is above 20 degrees Celsius. This significantly affects the success rate of the 3D print.
Slicer
When we receive an order, we immediately start working in our software to achieve the best possible result.
Placing supports (small pillars connected to the print surface and the miniatures) is very important and time-consuming. We manually check that the supports aren't placed in highly detailed areas (for example, the face of a miniature) to ensure they don't cause damage that would be difficult to repair when removed.
If there is no other option, we try to position them in such a way that it is less work to repair and the damage is less or not visible at all.
Finding the balance between too little support and too much support is always a fun challenge. You want the 3D print to be successful the first time, but also to have as little damage as possible, because every support attachment point leaves a small dent or bump.
Support Removal and Cleaning
Once the 3D printer has done its magic, comes the manual work.
Put on your protective clothing and go!
We try to remove excess resin as carefully as possible, so we use ultrasonic cleaners to clean the 3D prints with sound.
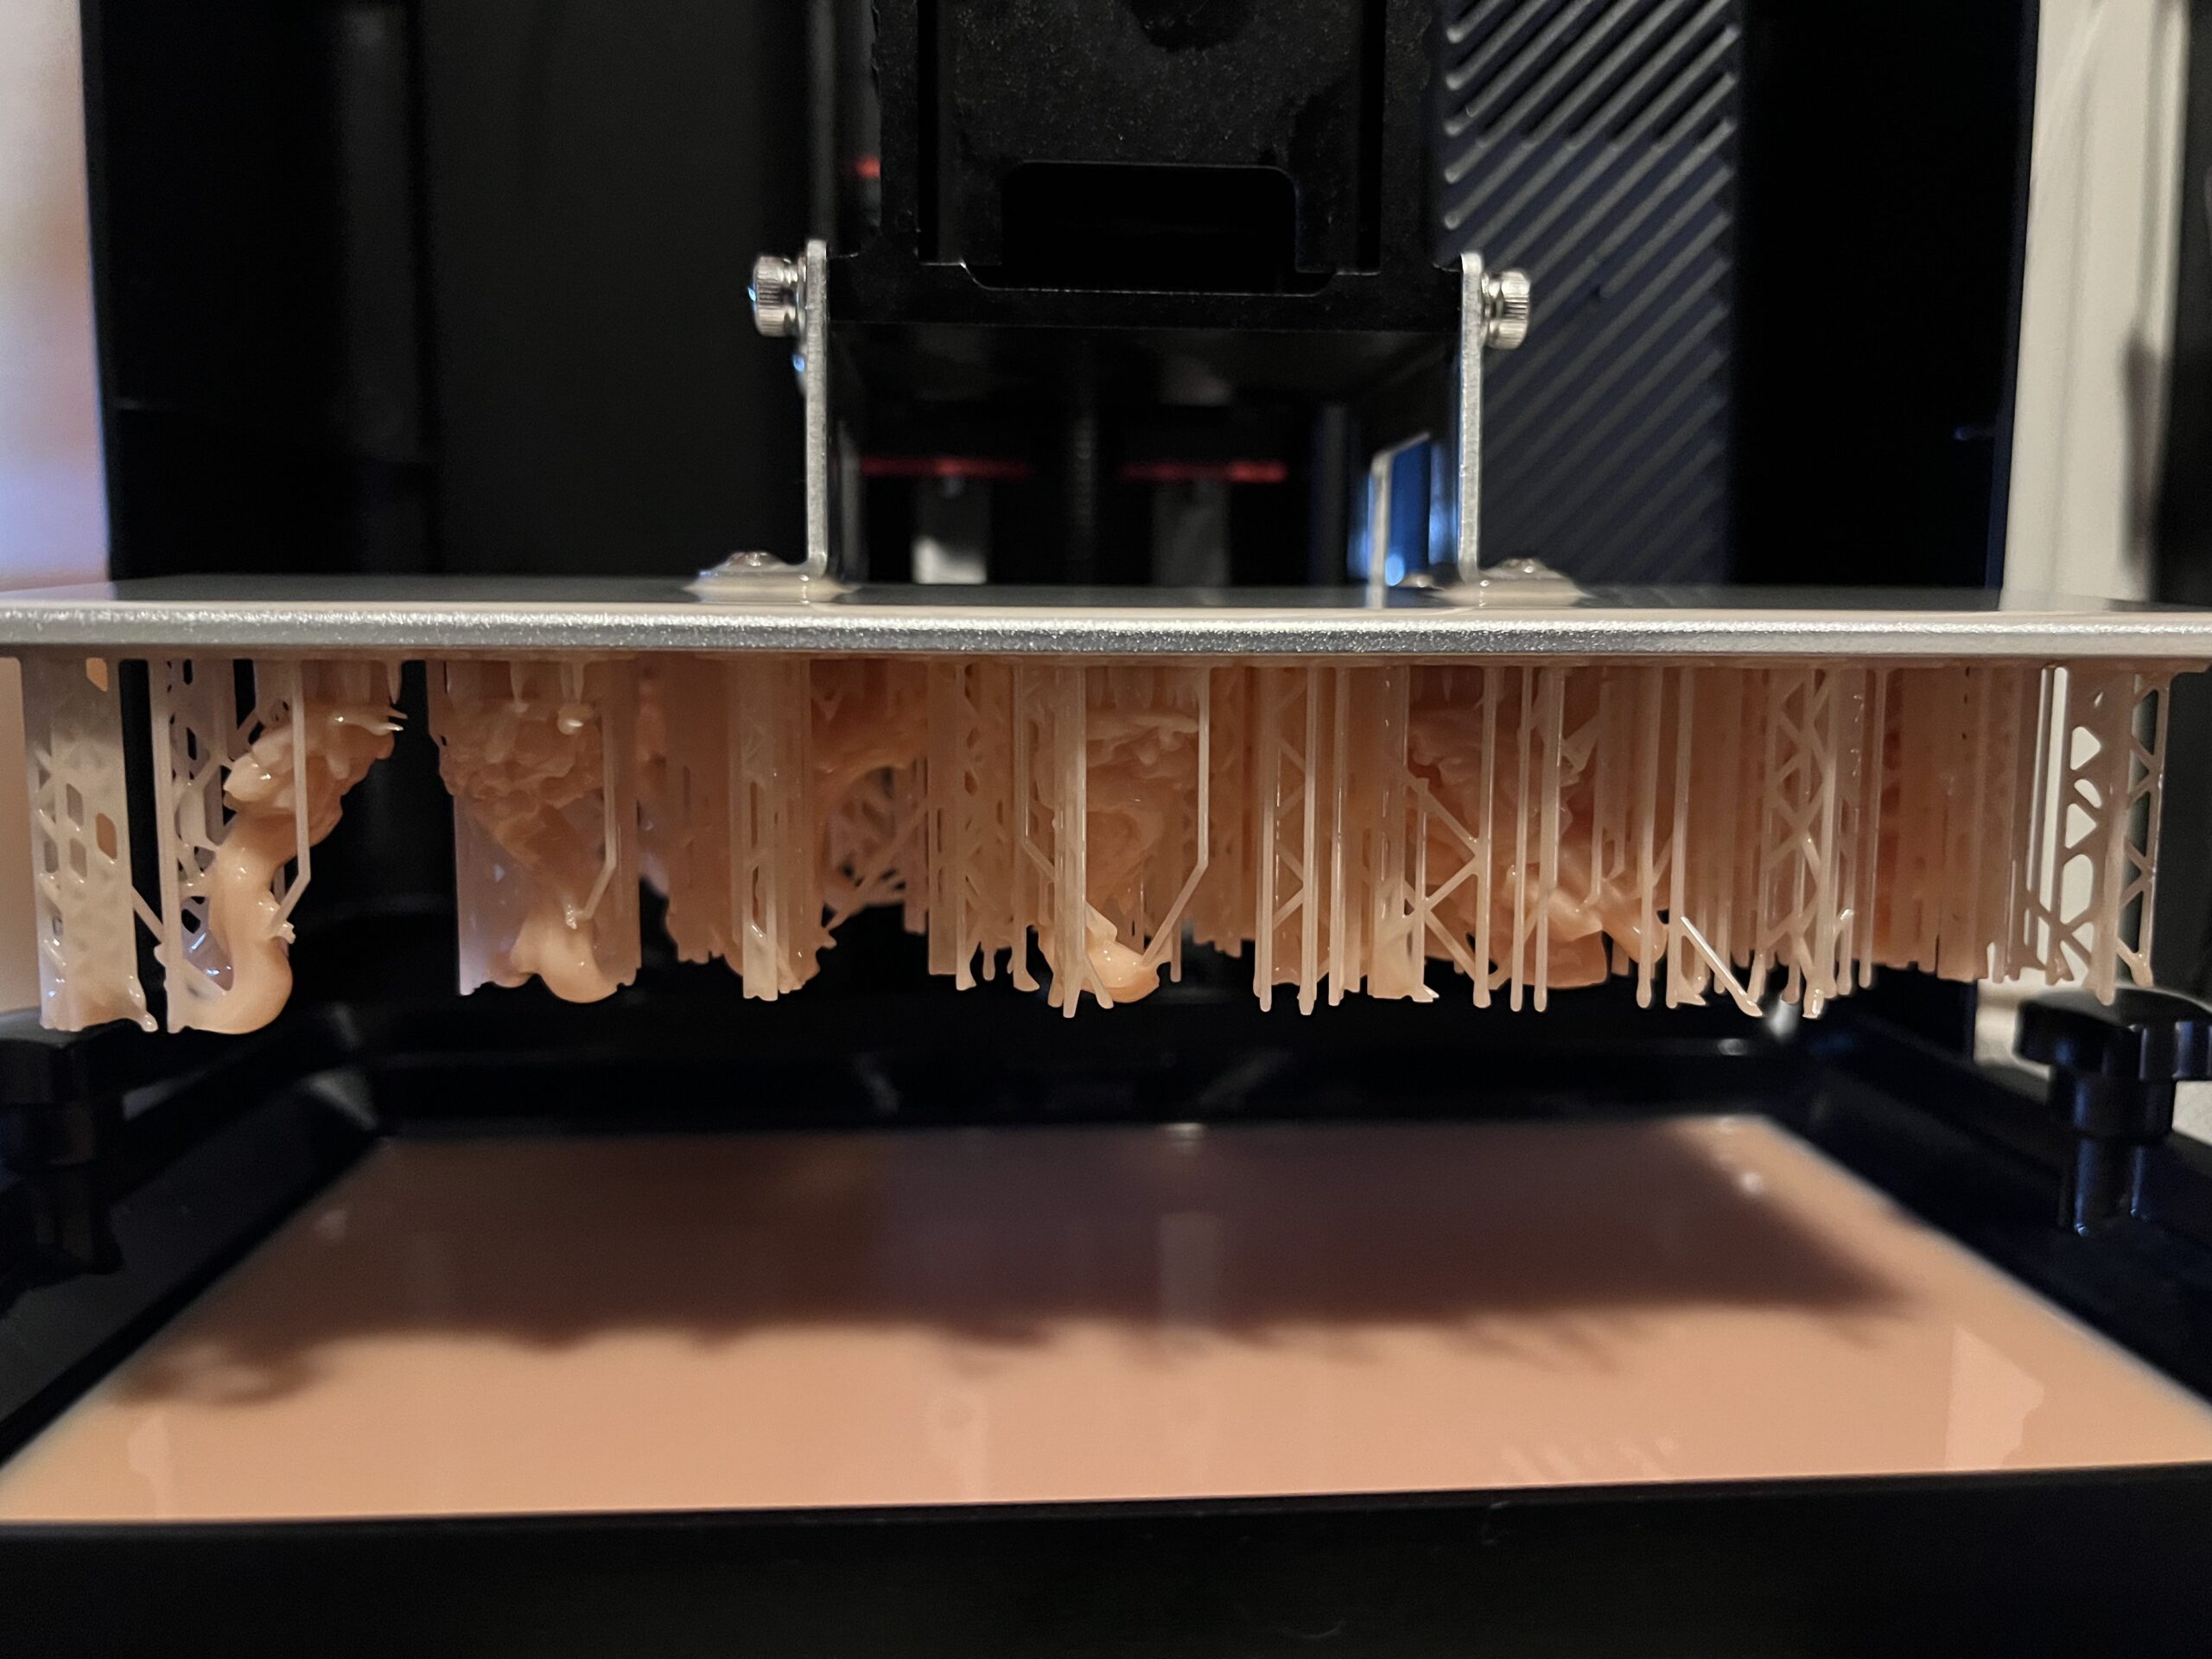
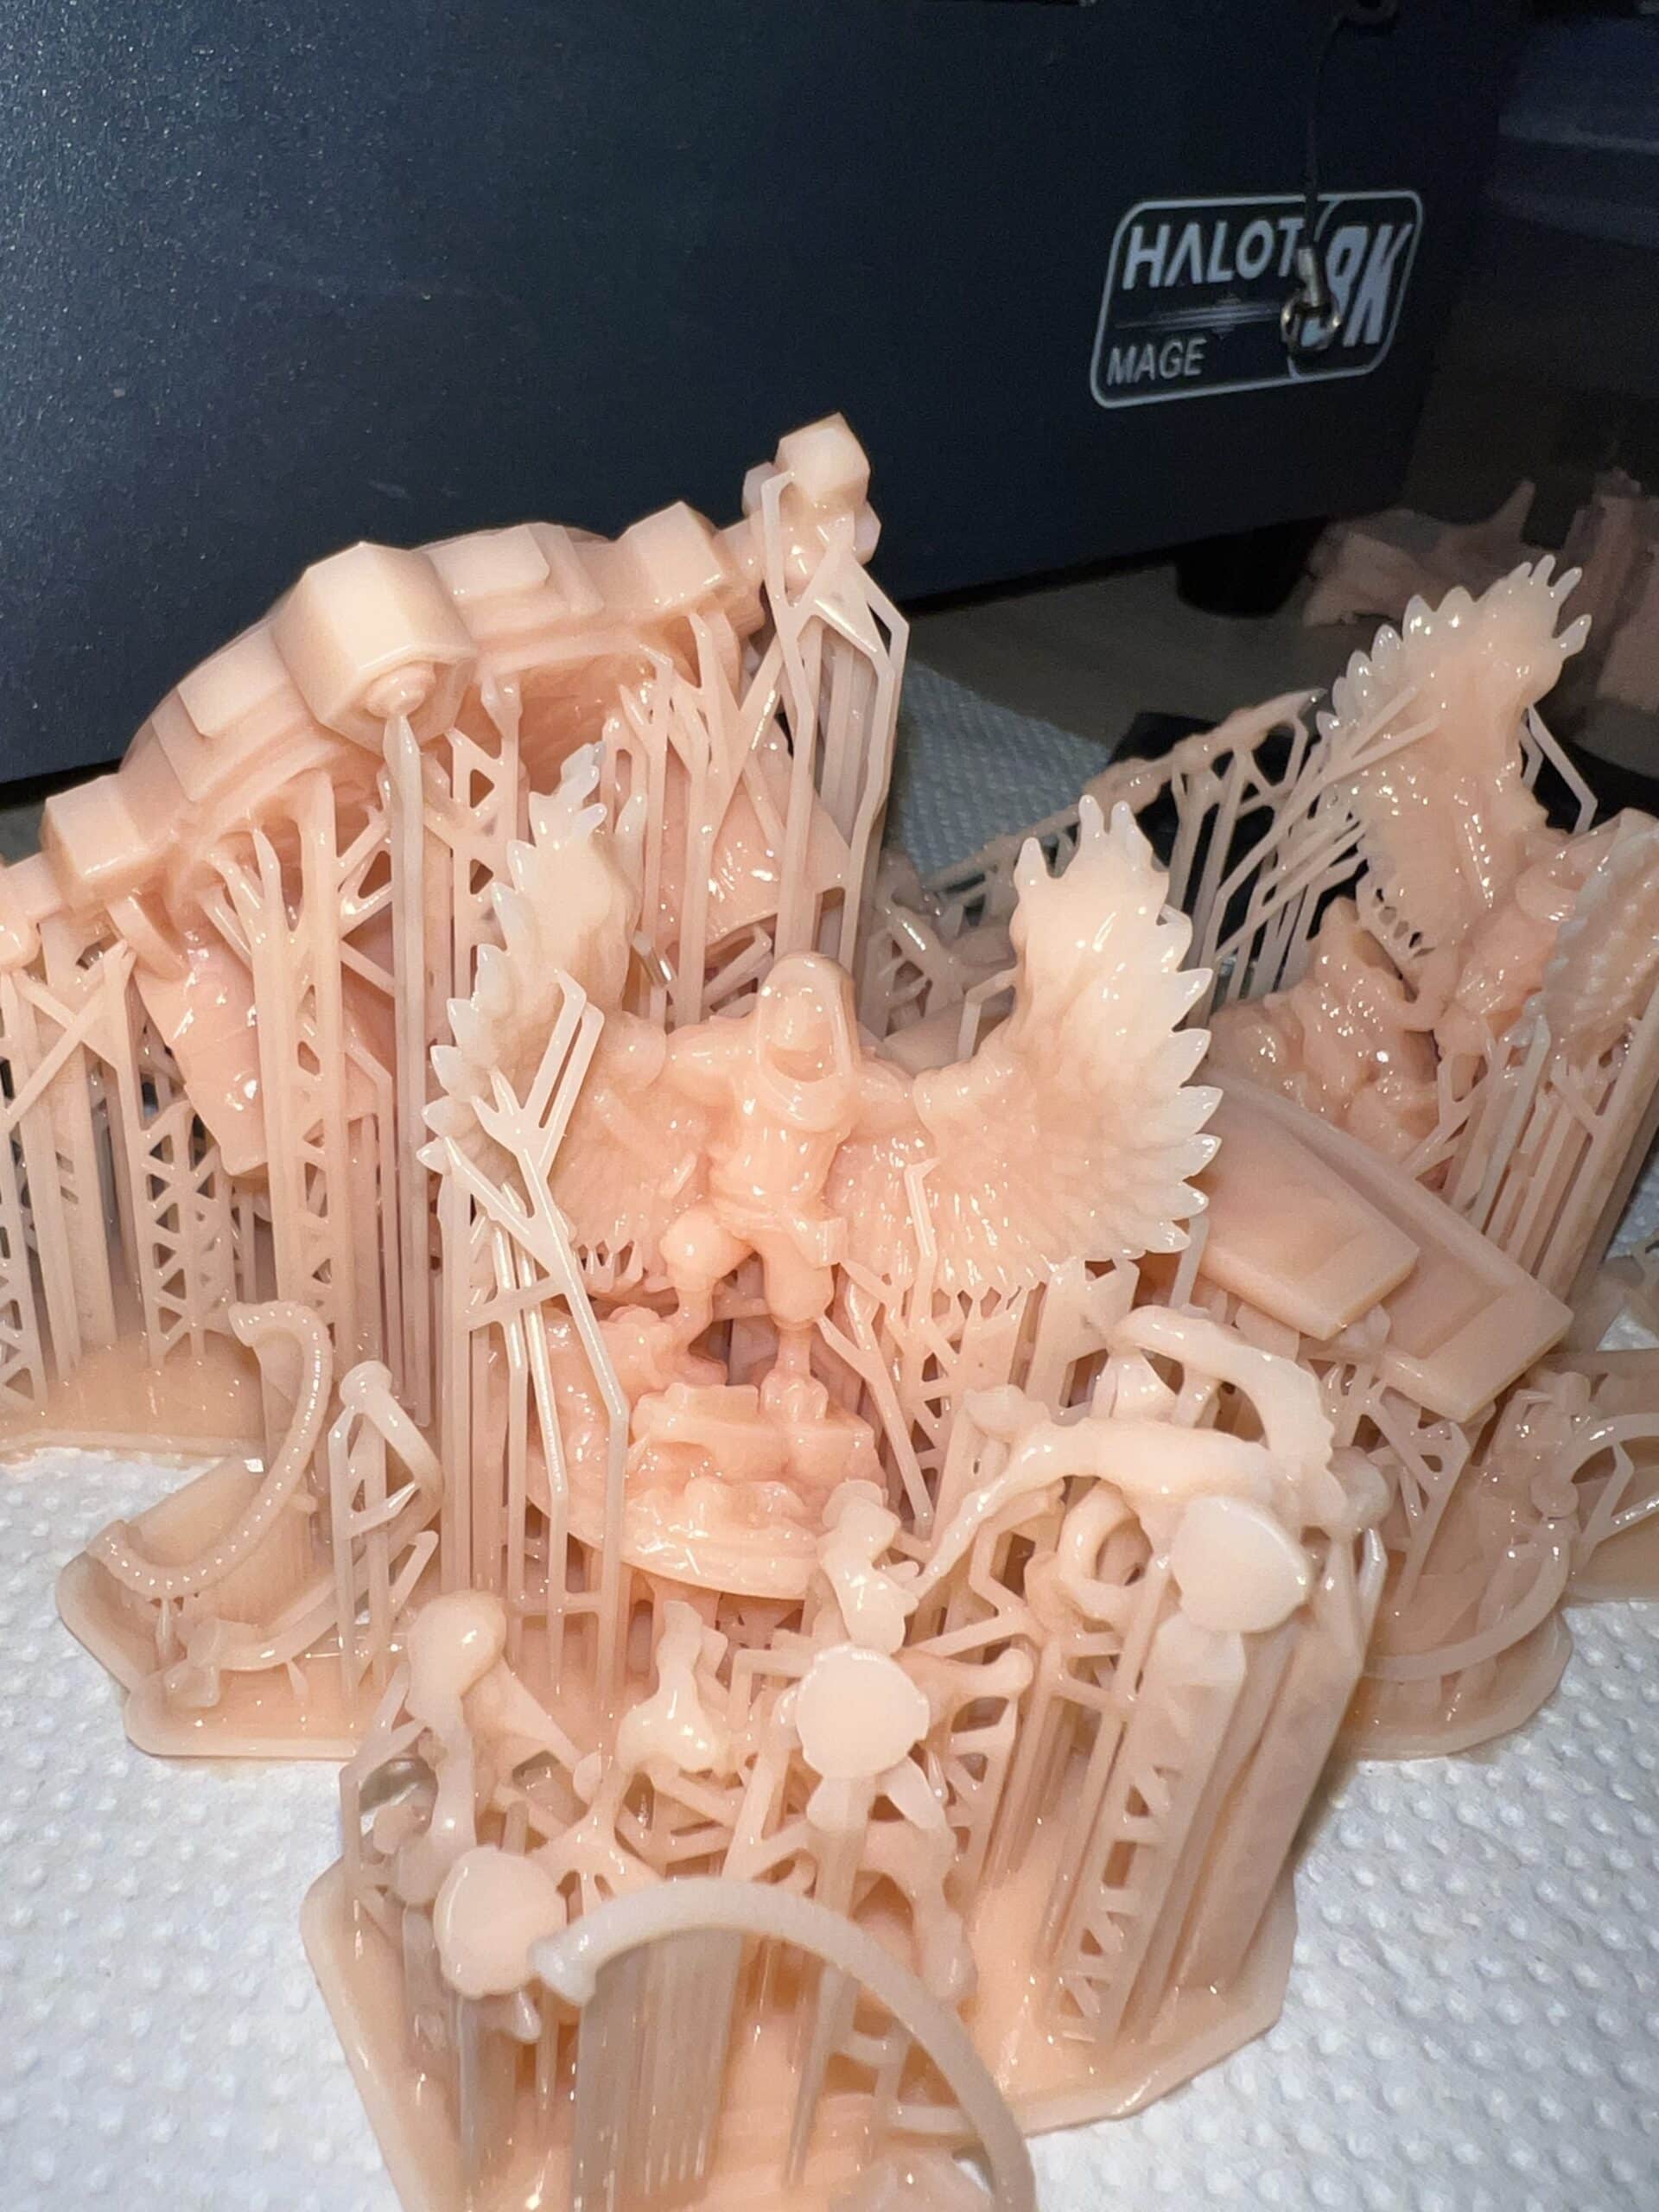
After the cleaning bath comes the fun part: carefully cutting away all the supports!
Only at this stage will we see whether the 3D prints are completely flawless, which is always exciting!
Sometimes damage or errors are hidden behind the supports, and that's the moment for us to determine whether we go back to the drawing board (our software) or whether we can proceed with a second cleaning.
After the 2nd cleaning of the 3D prints comes the hardening process.
So far, the 3D prints are still very flexible, but also sticky and, not to mention, toxic. We always wear protective clothing throughout the entire 3D printing process.
Curing
The final step has been taken by placing the 3D print in a UV light chamber.
After 1-7 minutes (depending on the size of the 3D print) it is fully cured and safe to touch with bare hands.
Because of our proprietary resin blend, some parts of the 3D-printed miniatures are still somewhat flexible and can therefore withstand a blow better than when printed with a different type of resin.
Now the 3D prints are ready to be shipped!
From Miniature Makes; have lots of fun painting the miniatures and the adventures that lie ahead!
Do you have a miniature you'd like to have 3D printed? We can certainly do that for you. We have a handy uploader where you'll see a price immediately. You can place an order right away, and we'll get started printing your miniature.